How to Apply Kart Graphics Without Bubbles (Step-by-Step Guide)
How to Apply Kart Graphics Without Bubbles (Step-by-Step Guide)
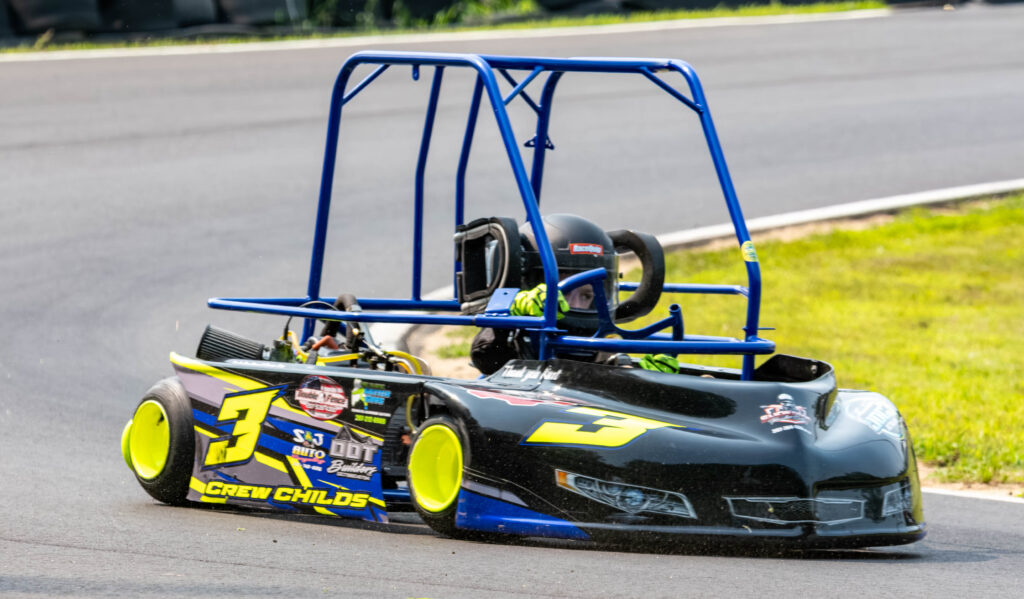
Applying kart graphics the right way can make the difference between a clean, professional race look and a frustrating install full of bubbles and wrinkles. Whether you’re installing a full set of custom kart graphics or a simple number kit, this step-by-step guide will help you get it right the first time.
Why Proper Kart Graphics Installation Matters
A clean install doesn’t just look better—it also helps your graphics last longer. Poor installation can lead to peeling edges, trapped air bubbles, and reduced durability on track. Taking the time to do it right ensures your kart wrap stays sharp through race day conditions.
Tools You’ll Need
Before you start, gather these essentials:
- Squeegee (felt edge preferred)
- Heat gun or hair dryer
- Isopropyl alcohol (70% or higher)
- Clean microfiber cloth
- Masking tape
- Razor blade or hobby knife
Step 1: Clean the Surface Thoroughly
Start by cleaning all plastic surfaces where the graphics will be applied.
- Remove dirt, grease, and rubber buildup
- Wipe down with isopropyl alcohol
- Let surfaces fully dry
👉 Any debris left behind will cause bubbles or prevent proper adhesion.
Step 2: Test Fit the Graphics
Before removing the backing, position each piece on the kart.
- Align edges and key features
- Use masking tape to hold pieces in place
- Make sure everything lines up properly
👉 This prevents costly mistakes once adhesive is exposed.
Step 3: Apply Using the Hinge Method
This is the easiest way to avoid bubbles:
- Tape one edge of the graphic in place (like a hinge)
- Peel back a small portion of the backing
- Start applying from one side
- Use your squeegee to press outward as you go
👉 Work slowly and evenly to avoid trapping air.
Step 4: Use Heat for Curves and Edges
Kart plastics have curves—heat helps the vinyl conform smoothly.
- Lightly heat the graphic as you apply
- Stretch gently around curves
- Press firmly along edges
⚠️ Don’t overheat—just warm enough to make the material flexible.
Step 5: Remove Air Bubbles
If you notice bubbles:
- Small bubbles: push them out with your squeegee
- Stubborn bubbles: use a pin to release air, then press flat
👉 Air-release vinyl makes this much easier if you take your time.
Step 6: Final Heat and Seal
Once everything is applied:
- Go over edges with light heat
- Press down all corners and seams
- Let the graphics sit for a few hours before racing
👉 This helps activate the adhesive for a long-lasting bond.
Common Mistakes to Avoid
- ❌ Applying graphics to a dirty surface
- ❌ Rushing the install
- ❌ Skipping heat on curves
- ❌ Misaligning before sticking
Pro Tips for a Perfect Finish
- Install in a warm environment (not cold)
- Work in sections instead of trying to apply everything at once
- Take your time—precision beats speed
Ready for a Pro-Level Look?
High-quality materials make installation easier and results better. At Nitro Kart Wraps, our custom kart graphics and go kart wraps are designed with air-release vinyl for smooth, bubble-free application and race-day durability.
👉 Design your custom kart graphics today and give your kart a professional edge on track.